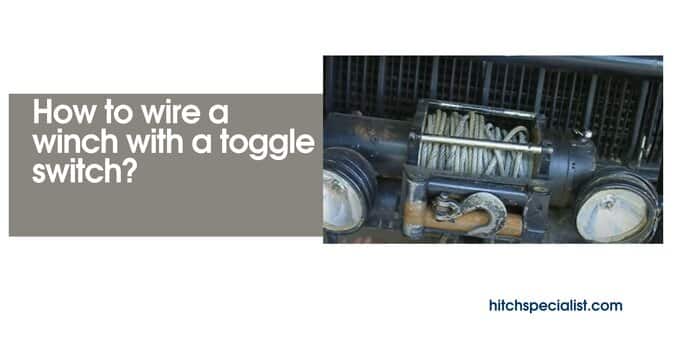
When driving an off-roading vehicle, having a high capacity winch linked to your vehicle might increase your safety. However, some people may not want to get a winch because of the inconvenience of regulating it. Because most winches require a remote control.
Getting out of your vehicle to use a remote to control your winch may be inconvenient. In such a situation, knowing how to wire a winch with a toggle switch can come in handy.
A winch toggle switch is a piece of equipment that uses a switch rather than a remote to control the winch. It can be mounted in the driver’s seat, allowing you to manage the winch while driving. This also eliminates the hassle of constantly plugging and unplugging the remote when operating the winch. To control the winch, simply flick the switch in your driver’s seat.
So, in this comprehensive guide, we’ll walk you through wiring a winch with a toggle switch step by step.
Things to you should keep in mind before installation
To complete the operation, some things you have to keep in mind which is important. Otherwise, it can create an accident that could be harmful to you. So, try to follow the following steps which we’ve mentioned here. Remember there is no compromise on safety!
- The first step is to turn off all electrical outlets. Turn off the vehicle’s engine to accomplish this. Then look for the toggle switch and the three colored wires linked to it (red, yellow, and green).
- Turn off the winch clutch now.
- To gain easier access to the installation area, open the hood or cowling as needed.
- Next, disconnect one of the spade connectors by grabbing the yellow and green wires. We won’t need the spade connectors at this point because we’ll be using wire splices.
How To Wire A Toggle Switch? (Step by Step)
To wire, a toggle switch, try to read these steps very carefully and maintain all of these properly.
Step 1: Disable the vehicle’s ignition before installation
The toggle switch, as well as the red, yellow, and green wires that connect it, must all be located. Make sure the winch can’t be activated by the toggle switch and isn’t powered up. The clutch on the winch should be released. After that remove, the engine hood or cowling if necessary, to obtain access to the installation location. One spade connector must be cut from the green and yellow wires provided. Wire splices will be used instead of spade connectors in this situation.
Step 2: Installing a toggle switch
Tube clamp-on handlebars should be positioned for convenience.
To fasten the toggle switch housing to the tube clamp, use a capscrew, locknut, flat washer, and shake-proof washer. Tighten the screws all the way.
Make sure the Green, Red, and Yellow wires are run through the back of the switch housing.
To secure the toggle switch, use the gasket. Connect the yellow wire to the top of the toggle switch. Connect the Red wire to the toggle switch’s center terminal. Connect the green wire to the toggle switch’s bottom terminal. Thread the loom with the green, yellow, and red wires. Snap the switch into the switch housing after attaching the loom to the back of the switch housing.
After that, connect the toggle switch to the handlebars with cables. To verify you have enough clearance, fully spin the handlebars right and left. Once toggles are connected via yellow, green, and red cables connect the yellow, green, and red wires of the toggle switch to the toggle switch’s corresponding wires.
Fold the place clip over itself and snap it close after splicing a yellow wire from the toggle switch and a yellow wire from the wire splice together. Green and red wires should be linked similarly.
Step 3: Complete the installation
Before beginning the installation, make sure the winch clutch is released. Turn the toggle switch “OUT” so that it does not operate when the ignition switch is turned off. Check that the yellow, green, and red cables are correctly connected if the winch does not work with the ignition switched off.
Extend some cable to see if it is spooling properly. Ascertain that the winch clutch is engaged. The cable will spool out when the ignition is turned on and the toggle switch is set to “OUT.”
Whether the winch does not operate with the ignition on, check the wiring harness linked to the winch and the equivalent wires at the toggle switch to see if there is continuity between the wires from the toggle switch and those at the receiver.
Make sure wires aren’t stretched taut across any surface that could cause them harm. Wires should be secured with cable ties. Remove any excess. The wiring for the toggle switches is routed down the handlebars.
Rotating the handlebars right and left should provide plenty of clearance. Connect the wires to the toggle switch and make sure the yellow, green, and red cables on the toggle switch match the wires on the toggle switch.
After entering a yellow wire from the toggle switch and another yellow wire from the toggle switch, fold the wire splice over and snap it shut. Green and red wires must be linked in the same manner.
You can also watch this installation video:
Conclusion
Now hopefully you are clear about the process of wiring a toggle switch. If you are an expert in wiring then it won’t be a problem but if you are new it can create some hassle for you. But don’t worry if you follow the mentioned steps properly it won’t be an issue.
If it is still a problem then we recommend finding an expert person who has done this before he/she can figure it out properly for you. And don’t forget to maintain very important pre-installation tips. Once you are done with this process you are good to go.
Stay connected with us and if possible, let us know your thoughts. Stay safe and enjoy your journey. Good luck!
Other winch related topics you may want to read:


